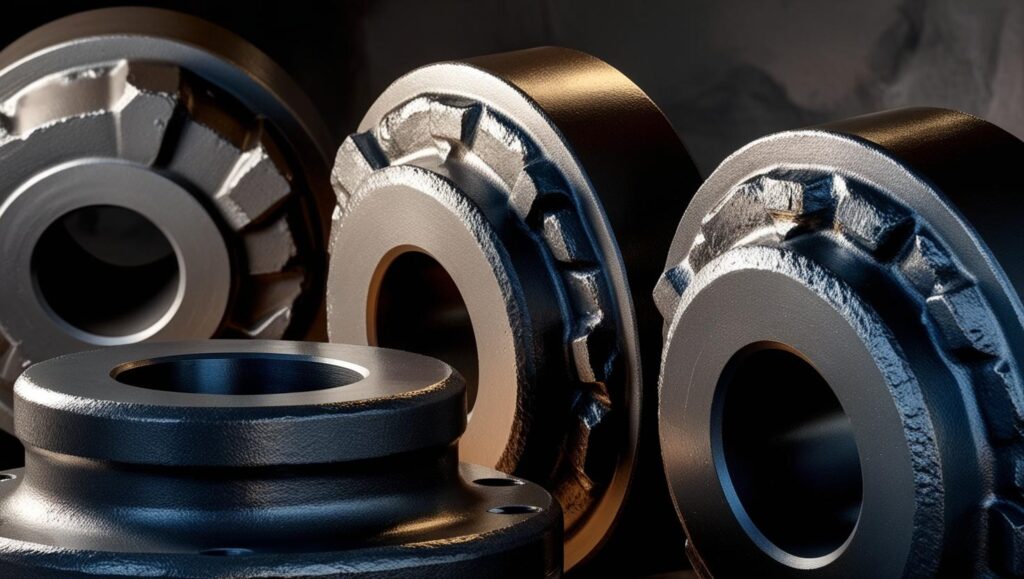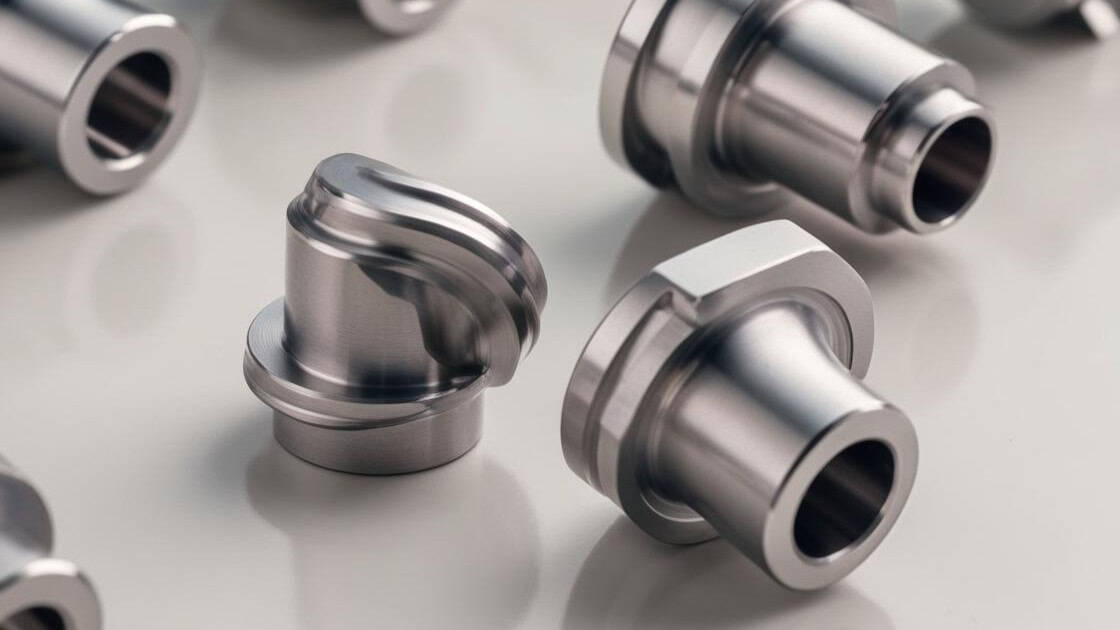
In machining, surface finish shows how smooth or rough a surface is after machining. It affects three things:
- How well a part works
- How precisely does it fit
- How long it lasts
A significant part of this is surface roughness — the tiny bumps and grooves left by the tool. In many industries, surface roughness values help define product quality.
To choose the correct finish, machinists and engineers use a machining surface finish chart. This chart shows roughness or surface finish values and where they apply. For example:
- A 32-surface finish works well for engine components.
- A 125-surface finish may be used for non-critical parts like frames.
Are you curious to know more?
Here, you’ll learn everything about the Surface finish, including:
- The standards
- How they relate to roughness values (Ra)
- How these values are applied in machining, and a lot more.
Keep reading!
What is Surface Finish?
Surface finish refers to the texture left on a material after machining and affects performance, such as wear and friction. It’s crucial in industries like aerospace, medical, oil, and automotive. Surface roughness, often confused with surface finish, is just one aspect—focusing on tiny bumps and dips. Surface finish includes both fine details and larger surface patterns.
Understanding Surface Roughness and Its Measurement
Surface roughness is the small bumps and dips on a surface. According to Comprehensive Materials Finishing, roughness measurements show how smooth the surface is.
When talking about how smooth a surface is, people often use Ra and Rz.
- Ra (Roughness Average): This is the most common. It shows the average roughness of a surface.
- Rz: This measures the height from the highest peak to the lowest valley in a small area. It’s good for seeing the extremes on a surface.
How Can You Measure Surface Roughness?
Т.А. Ruzova states that surface roughness is usually measured using tools like a profilometer. But note that there are other ways, too.
- Contact Profilometers: A small stylus moves along the surface to measure it.
- Non-Contact Profilometers: These use light or lasers to measure without touching. That’s also why they’re suitable for delicate materials.
- Comparators: Known samples you feel or look at to compare finishes.
- Microscopes: Let you see fine surface details up close.
How roughness is related to machining processes

When a part is machined, it always has a certain surface texture called surface roughness.
Here’s how different machining methods compare:
Lathe Turning (Ra 63 to 125 μin): It is used for general parts like rods or bolts.
Milling (Ra 32 to 125 μin): Milling can give you either a rough or smoother surface. It’s commonly used for parts in engines (automotive industry)
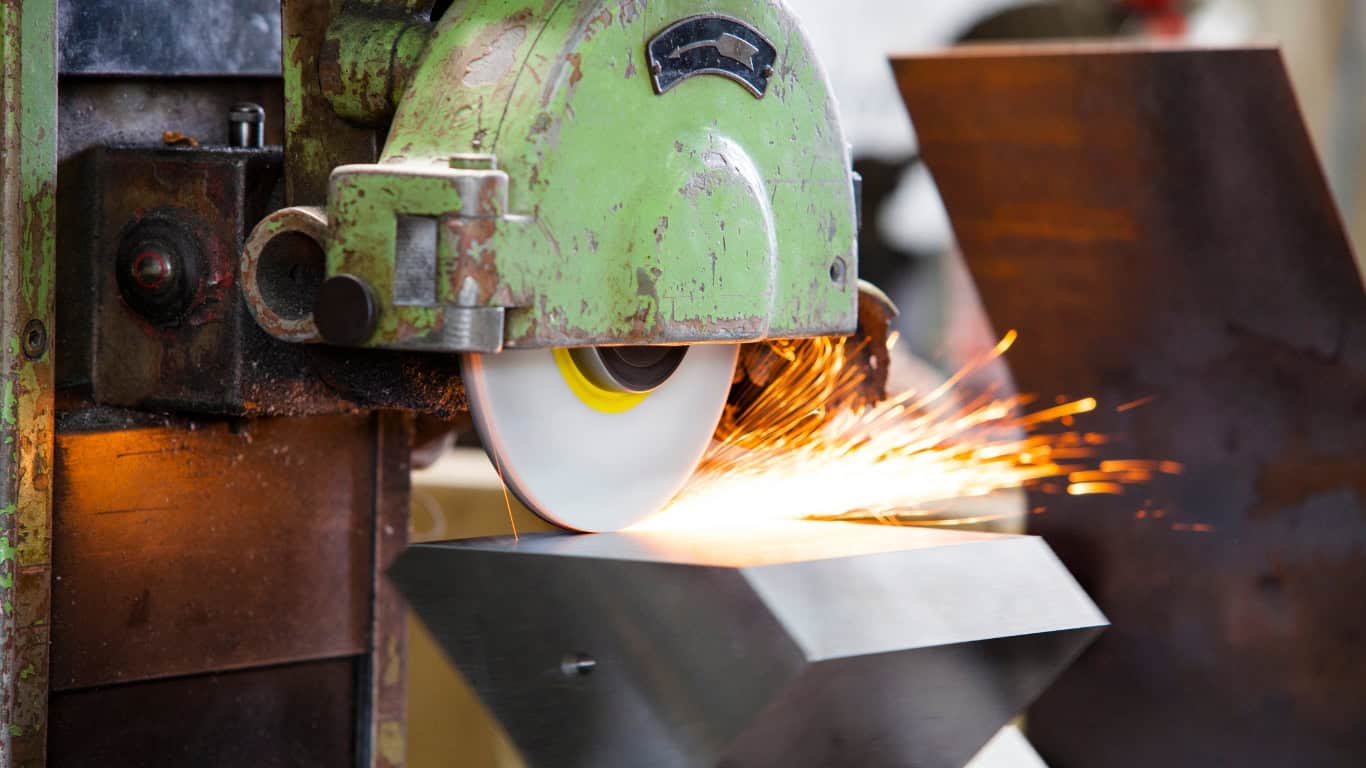
Grinding (Ra 8 to 32 μin): Grinding creates a much smoother surface. It’s used for parts that need “extreme” precision.
Polishing (Ra 1 to 8 μin): Polishing produces an extremely smooth finish, which is why it is ideal for medical tools and implants.
How to Read a Surface Roughness Chart
If you want to read the surface roughness chart, then follow these three steps:
- First, think about the function of the part.
- Next, choose the correct Ra value. Do this based on whether the part needs to resist wear or move smoothly against other surfaces?
- Finally, select a machining process. Note that it should achieve that Ra value. It should give you the surface finish you need.
Surface Finish Chart and Surface Roughness Grades
A surface finish chart shows how smooth or rough a surface is by listing standard surface finish values or surface roughness grades that use tiny measurements to describe how smooth something feels.

Let’s take a look at this table about Surface Finish Chart and Surface Roughness
Grades:
| Roughness Grade | Ra (µin) | Surface Finish Description | Typical Use Cases |
| N1 | 1 | Super mirror finish | Optical parts, high-precision tools |
| N2 | 2 | Extremely fine | Precision measuring instruments |
| N3 | 4 | Very fine | High-end bearings, sealing surfaces |
| N4 | 8 | Fine finish | Hydraulic components, gears |
| N5 | 16 | Smooth finish | Engine parts, machined surfaces |
| N6 | 32 | Medium finish | Automotive parts, shafts, general machining |
| N7 | 63 | Standard machined finish | Structural parts, moderate tolerance items |
| N8 | 125 | Rough machined | Hidden parts |
| N9 | 250 | Very rough | Forgings, parts for further machining |
How to Achieve Specific Surface Finishes in Machining
A review in the Journal of Micromanufacturing has explained how you can achieve specific surface finishes in machining.
According to it, to get the surface finish you want, start by looking at the material you’re working with. For example, if you’re machining aluminium, here are two simple tips to help:
- Use high-speed steel tools for clean cuts.
- If you need a very smooth surface (Ra 16 or lower), you may need to polish it after machining.
If you’re machining plastic, then do these three things:
- Use polished tools to prevent scratches or marks.
- Keep cutting speeds low so the material doesn’t melt.
- Use coolants carefully — only ones that are safe for plastics.
For steel:
- Use carbide tools, as they last longer and handle steel well.
- For a smooth finish (Ra 32 or better), mill the part first, then use grinding to refine it.
Key machining processes that impact surface finish
José V. Abellán-Nebot writes that getting the correct surface finish depends on a few critical machining factors. Each method creates its texture. Therefore, picking the right one is key to making sure the finish is smooth enough for the job.
- Turning: Used with a lathe. It can leave a Ra 63 to 125 μin finish depending on tool sharpness and feed rate.
- Milling: Versatile process. Can achieve Ra 32 to 125 μin with the right speed and tool.
- Grinding: Removes acceptable amounts of material. Ideal for Ra 8 to 32 μin finishes.
- Polishing: Smooth the surface further. Can reach Ra below 8 μin for mirror-like finishes.
What Affects Machining Surface Finish Quality?
To get a smooth surface, you need to know what affects it.
- Tool Choice: Sharp, high-quality tools leave a cleaner, smoother surface. If the tool is dull, it can scratch the material and create a rough, uneven finish.
- Feed Rate: A slower feed rate gives you a smoother finish.
- Material Type: Softer metals like aluminium machines work smoothly, while more complex materials like iron need special tools for a good finish.
Industry Standards and Surface Finish Codes: Everything to Know
Did you know industries around the globe use standardized surface finish codes? Because of them, everyone gets to be on the same page about how smooth a surface should be and how to measure it.

The common Surface Finish Standards are:
- ASME B46.1 (USA). This one explains how to measure surface roughness and what the numbers mean. It’s primarily used in the U.S.
- ISO 1302 (International). This tells you how to show surface finish on drawings so everyone knows how smooth or rough a part should be. It’s used all over the world.
How to Read Surface Finish Codes
Surface finish is often shown as 3.2 Ra, meaning no rougher than 3.2 µm.This equals Ra 125 microinches and is common on engineering drawings.Symbols, like a triangle with a number, indicate surface roughness limits.They may also show if material removal is required or prohibited.These markings help ensure the correct surface finish in specific areas.
Frequently Asked Questions
What is the difference between surface finish and surface roughness?
Surface roughness measures small-scale texture — the bumps and dips. On the other hand, surface finish includes roughness plus larger patterns. Common ones are waviness and tool marks.
How does a rougher surface affect product performance?
A rough surface increases friction and wear. It may also cause seals to fail, increase noise, and shorten part life. Remember: In moving parts, a smooth finish ensures longer performance and less maintenance.
What is the best finish for automotive or aerospace components?
Choosing the best surface finish depends on part function, material, and industry standards.
- Automotive: Parts like pistons or gears often use Ra 16–32 μin.
- Aerospace: Turbine parts or control surfaces usually need Ra 8–16 μin.
Conclusion
Understanding surface finish values and roughness is essential for quality machining. The way a surface is finished can affect how parts move. Keep in mind that it should be smooth (without any friction).
To ensure the finish is on point, it is recommended to check a surface finish chart or roughness chart. These simple tools guide you toward the right quality standards.
Download a free PDF surface finish chart for reference.
Need advice for your next machining project? Get in touch for personalized support and expert guidance.
Surface Finish & Roughness Charts in Machining: Contact Us for Expert Technical Guidance
Hanke Engineering specializes in forging, CNC machining, and high-precision investment castings in Xuzhou, China. We work with both ferrous and non-ferrous metals, producing parts with tight tolerances and fine details. Our capabilities range from tiny components to 90-pound parts. Whether you need help choosing the right surface finish or full-scale production, we’ve got you covered.
Are you looking for expert support on your next project? Contact us today—we’d love to help.
